
Documentation on every setting and option available for setting up a new Sitewide Sale.
- After you install and activate the plugin, navigate to “Sitewide Sales” in the WordPress admin and click “Add New”.
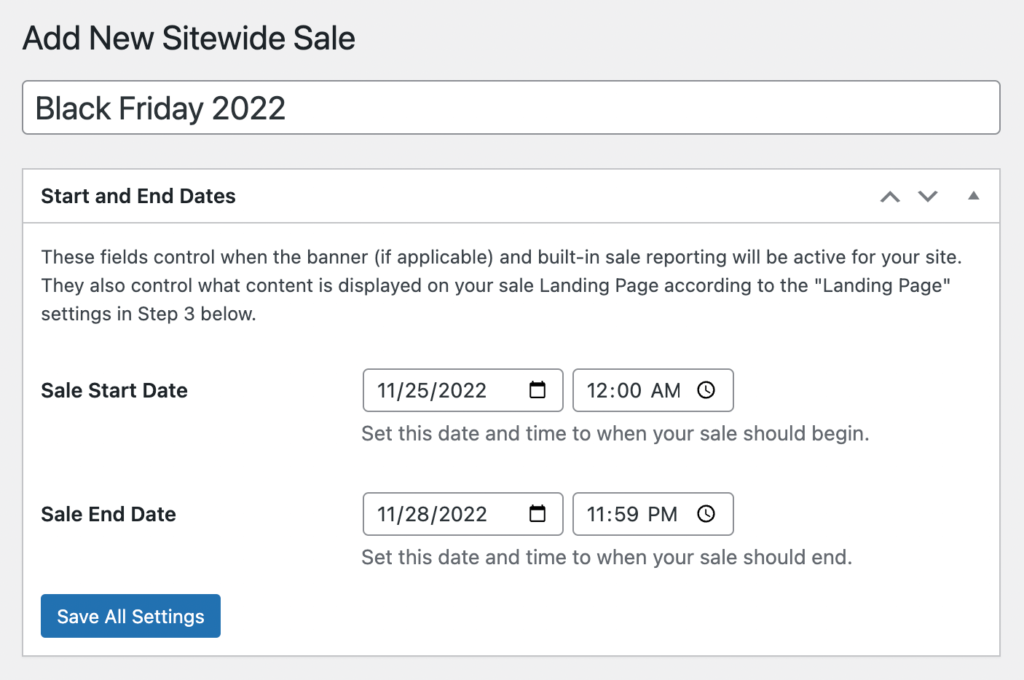
- Give your sale a Name. This title is used for internal tracking purposes (not displayed to your visitors).
Then, follow the instructions below to go through every step to create and activate a sale. At a high level, the steps include:
- Specify the sale’s Start Date and End Date
- Select the Sale Type from the included integrations and assign the sale’s Discount Code or Coupon Code.
- Create a Landing Page for your sale (optional)
- Display a Banner to advertise your sale (optional)
- Track the progress of your sale with Reports.
Continue reading the documentation about each step for more help with your Sitewide Sale setup.