Countdown timers are a visual way to create urgency and motivate purchases when running a sale on your ecommerce site. This blog post shows you step-by-step instructions to add a simple store notice with a WooCommerce countdown timer.

Required Plugins Used In This Guide
For this tutorial, I’m using a basic WordPress site with the following theme and plugins:
- WooCommerce: a WordPress ecommerce plugin
- Blocksy: a WooCommerce compatible theme by Creative Themes
- HurryTimer: a countdown timer plugin
- Code Snippets: a plugin that adds PHP code recipes right in the WordPress admin.
There are loads of countdown timer plugins available for free in the WordPress.org plugin repository. I chose HurryTimer because it’s the plugin we use at Paid Memberships Pro when running our own sitewide sales.
On to the tutorial!
How To Add a WooCommerce Countdown Timer Store Notice
Time needed: 30 minutes
This tutorial is a step-by-step walkthrough on how to create a new countdown timer in WordPress that displays in a sitewide banner or “Store Notice” in WooCommerce.
- In your WordPress admin, navigate to HurryTimer > Add Campaign.
Enter a name to identify your timer. The name is only shown to you as the admin and helps you identify what this timer is for.
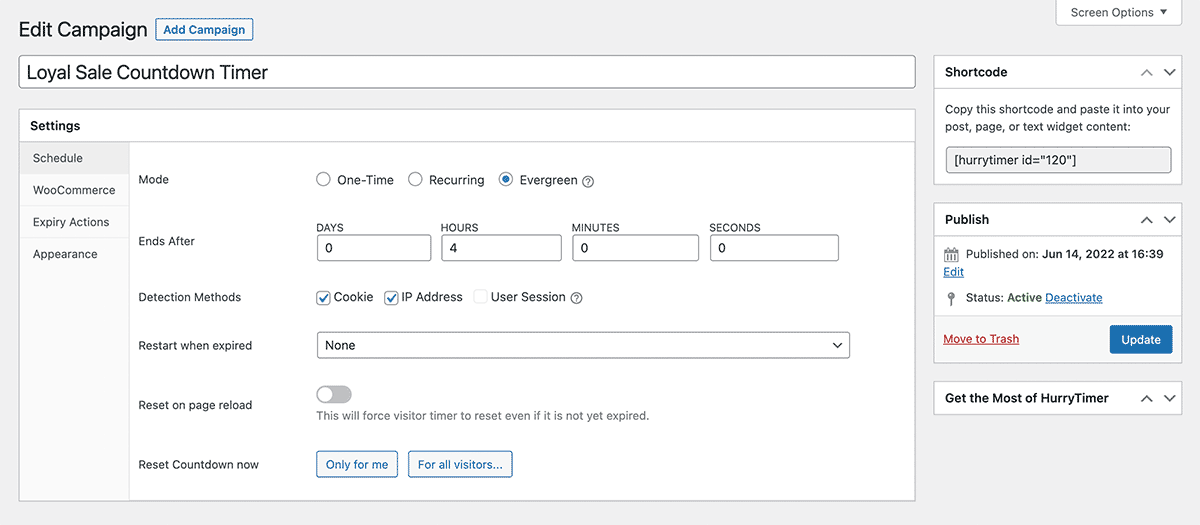
- Configure your timer’s end date and display settings.
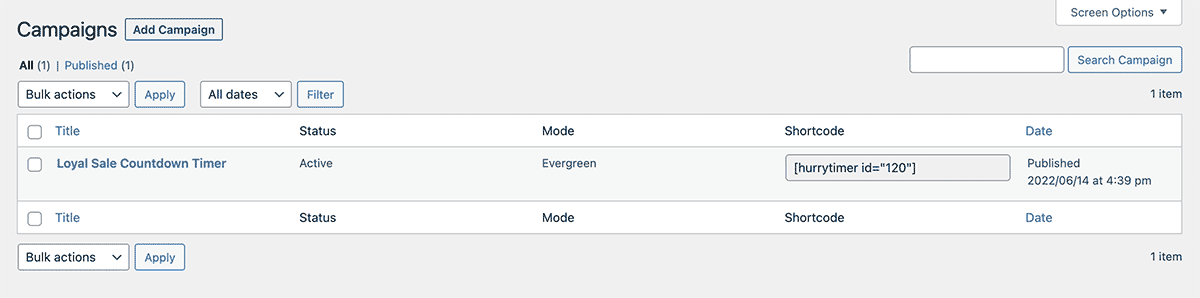
Set up a basic timer with a specific end date. After you configure other timer settings, click to save and publish the timer. Once your timer is published, HurryTimer displays a unique shortcode that you will need for a later step.
- In the WordPress admin, navigate to Snippets > Add New.
Copy and paste the exact code from my example recipe at the bottom of this post. This code will load the content of your Store Notice and make sure that any shortcodes render on the frontend of your site.
Once the code is added, click the button to “Save and Activate” the snippet. Phew. I knew you were a coder.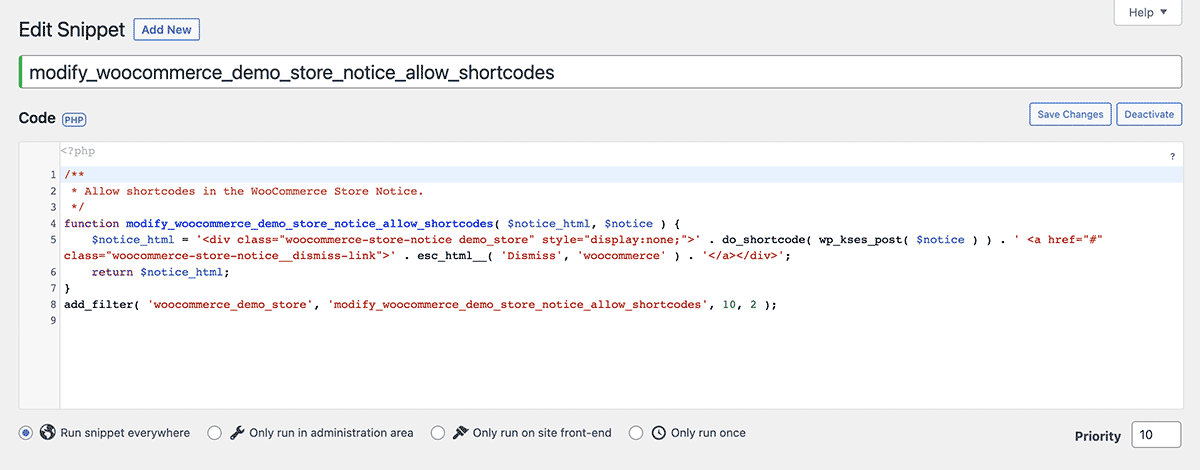
- Next, navigate to Appearance > Customize in the WordPress admin. This action opens the Theme Customizer feature of WordPress.
Scroll to the bottom of the left column menu and choose WooCommerce. Then select “Store Notice”.
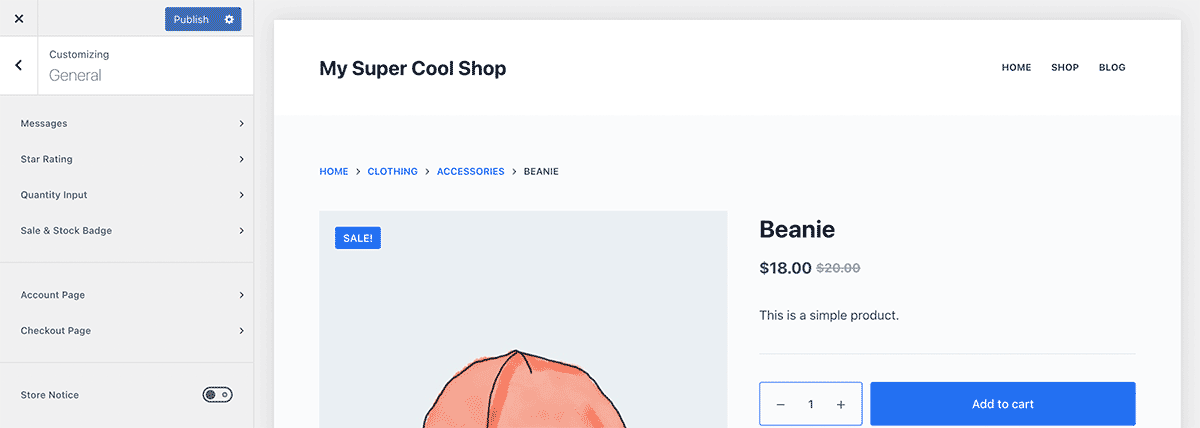
- Now you’re ready to set up the actual banner that will show on your WooCommerce site.
First, check the box to “Enable store notice”. You’ll need this setting activated so you can preview the appearance of your notice.
- In the empty textarea, add some information about your sale and paste the shortcode from HurryTimer.
Your store notice may look different depending on the WooCommerce theme used in your WordPress site. I’m using Blocksy by Creative Themes which has support for WooCommerce.
If you aren’t ready to launch the banner on your store, uncheck the “Enable store notice” setting before you hit publish. I put a link in the video description with some tutorials on how to turn on the notice at a specific date and time. Or, you can come back and manually enable it when your sale begins.
When you’re happy with your notice text, click “Publish” to update your site.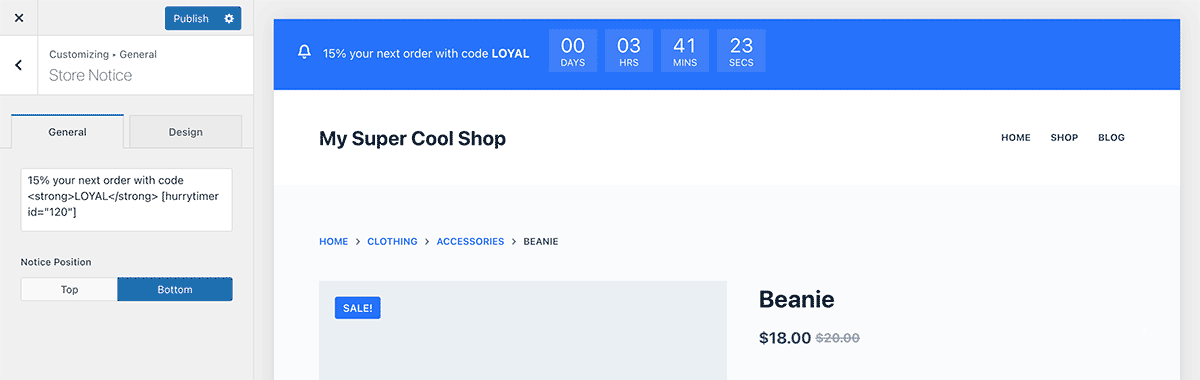
- Go check out your site and countdown timer!
You can now navigate to view your live site. You should see the store notice with the active countdown timer ticking away.
If you want to make this a little prettier, I also included a few lines of copy and paste CSS that you can use to make your site look like this tutorial.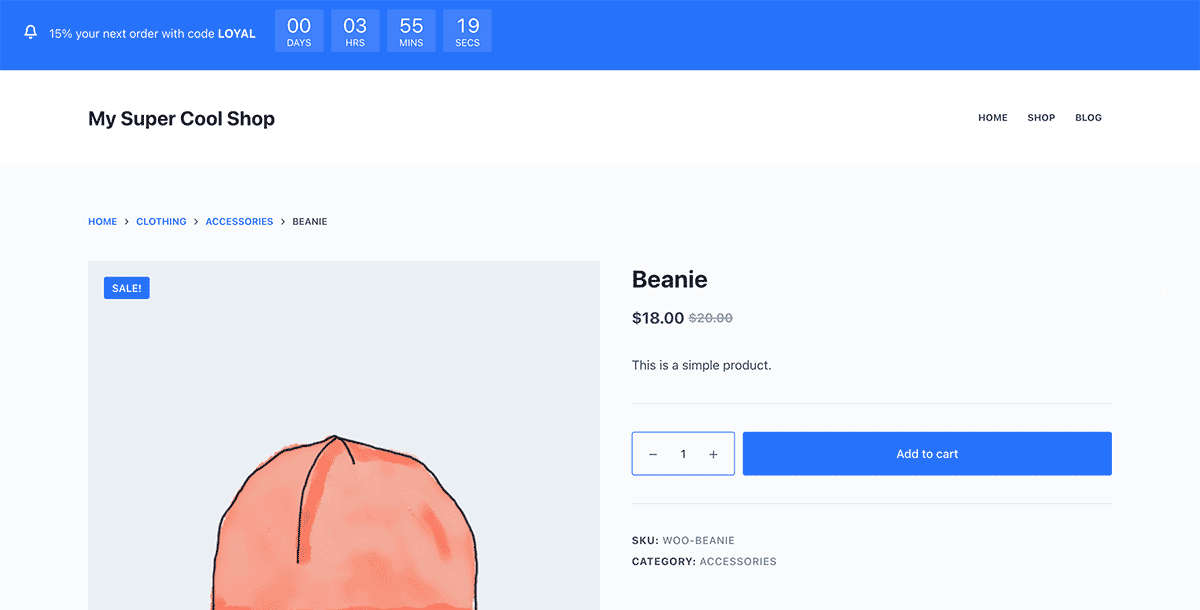
The Code Recipe
Adding the Recipe to Your Website
You can add this recipe to your site by creating a custom plugin or using the Code Snippets plugin available for free in the WordPress repository. We have a post on how to create a customizations plugin on our partner website, Paid Memberships Pro.
The Custom CSS
.woocommerce-store-notice .hurrytimer-campaign {
	margin-left: 20px;
}
.woocommerce-store-notice .hurrytimer-timer-block {
	background: rgba( 255, 255, 255, 0.1);
	padding: 5px 15px;
}
.demo_store a.woocommerce-store-notice__dismiss-link {
	background: none;
}
Add the Custom CSS To Your Site
- If you’re already using a child theme, this CSS can be added directly to your child theme’s style.css file.
- Or, navigate to Appearance > Customize.
- In the Theme Customizer, locate the “Additional CSS” field.
- Paste this CSS into the field.
- Click “Publish” to push these changes to your live site.
Build Better Banner Ads with the Sitewide Sales Plugin for WooCommerce
This recipe shows a simple way to adjust your WooCommerce Store Notice and add a countdown timer. If you want to run a true sale that automatically starts and stops based on your start and end date, you need try the Sitewide Sales plugin—it works with WooCommerce and other popular ecommerce plugins for WordPress.