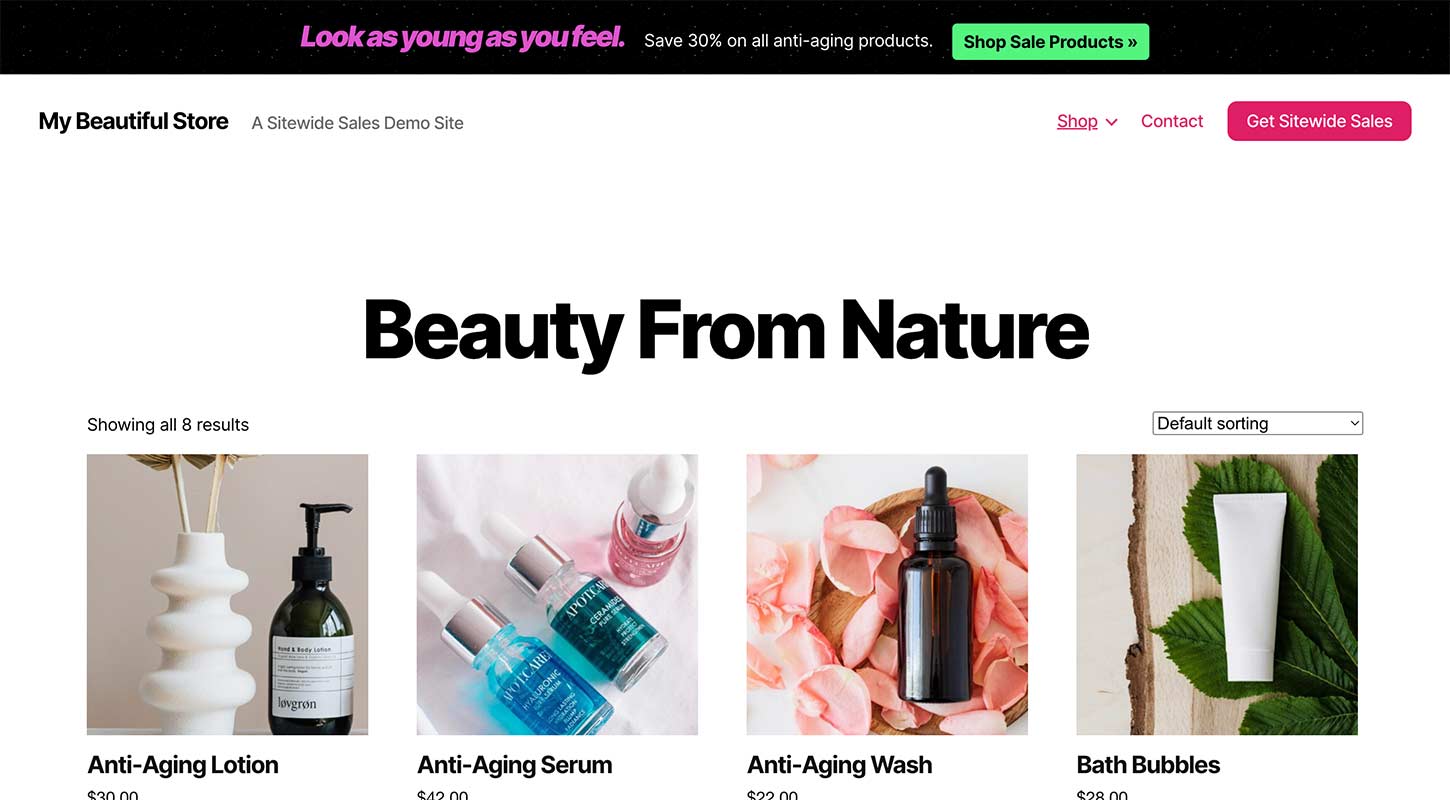
Want to set up a Sitewide Sale for your ecommerce site just like the demo screenshot? This guide includes the example text and settings we used to create the “Neon” Landing Page and Banner demo for WooCommerce.

How to Set Up the Neon Sale for WooCommerce
Time needed: 30 minutes
Follow these steps to create a Sitewide Sale for WooCommerce that matches our demo site’s “Neon” screenshots.
- Add a new sale.
If you’d like to make a sale that looks like the demo screenshot, begin by navigating to Sitewide Sales > Add New in the WordPress admin.
- Fill out your basic sale settings.
Enter your sale’s start and end dates then select the sale type “WooCommerce”. Choose an existing coupon or create a new coupon exclusively for this offer. For more help on this step, please refer to the Sitewide Sales setup guide here.
- Generate a Landing Page
In the “Landing Page” section, click the button to “create a new landing page”. This will generate a new page for your sale that includes the
sitewide_salesshortcode and sets the page template to “Sitewide Sale Page”. - Begin entering the Sale Content and Banner Content
You can now complete the setup by copying and pasting the content from the example text below. Be sure to choose “Neon” as the landing page and banner templates. The example banner text is compatible with any banner location, but for this template we really like the appearance of the “Top” banner.


Example Text From the “Neon” Demo
Get Support for Sitewide Sales
If you are having trouble with your sale setup, please open a support ticket. We will be happy to help you set up this demo or answer other questions you may have about the plugin.


